
Where are Marvel Tokon PS5 controls / button layout?
DualSense defaults are in the button layout table on this page (Light □, Medium △, Heavy ○, Assemble ×, Dash L1, Quick Assemble L2, Unique R1, Quick Skill R2).

Marvel Tokon controls: DualSense Light/Medium/Heavy, Assemble, Quick Skill, Switch, Crossover — remap once, then drill in Training. Verified August 2026.
Quick Skill vs Command Input, button layout, Assists, and Switch.
~7 min read
Sponsored
This Marvel Tokon controls page maps the official Fighting Souls controls button layout for PS5 DualSense defaults, then the same logical actions on PC pads. Exact glyphs can vary by prompt skin — verify in the in-game button config. Verified August 16, 2026 · Steam.
| Fact | Detail |
|---|---|
| Game | MARVEL Tōkon: Fighting Souls |
| Developer | ARC SYSTEM WORKS |
| Platform | PS5 · PC (Steam / Epic) |
| Reference pad | PlayStation DualSense defaults |
| Team systems | Assemble · Assist · Switch · Link Attack |
| Best practice room | Training Mode with input display |
| Next page | Assemble guide |
| Verified | August 16, 2026 |
Group buttons by job. Official PlayStation defaults from beginner materials:
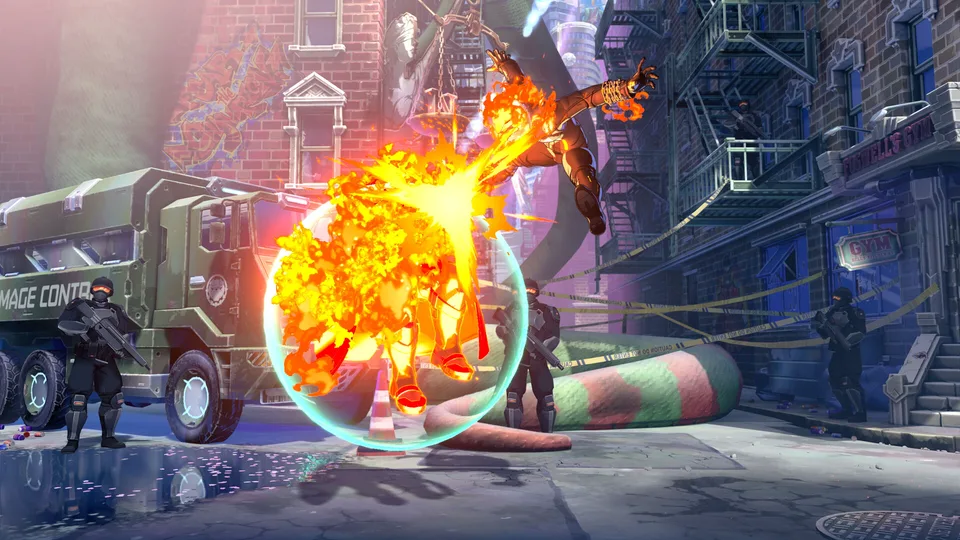
| Action | PS default | Job |
|---|---|---|
| Light | □ | Fast normals · Light auto-routes · Counter / Crossover partner |
| Medium | △ | Mid normals · Medium auto-routes · Super Skill partner |
| Heavy | ○ | Heavy normals · Heavy auto-routes · Ultimate partner |
| Assemble | × | Assist calls with directions · team tools |
| Dash | L1 | Forward / back dash without double-tap |
| Quick Assemble | L2 | Direct Switch attempts · Switch window confirm |
| Unique Attack | R1 | Character unique tools |
| Quick Skill | R2 | One-button skills (remappable) |
On PC (Steam / Epic), map whatever pad the game detects to the same eight jobs above. If your build shows Xbox-style letters, ignore the letter — keep Light / Medium / Heavy / Assemble / Dash / Quick Assemble / Unique / Quick Skill in the same places your thumb already knows.
Movement and dash next — they decide whether you ever press the attack buttons cleanly.
Official beginner materials describe walk, dash, and jump the usual anime-fighter way, with a dedicated Dash button as a shortcut.
| Movement | How |
|---|---|
| Walk | Hold ← or → |
| Forward dash | Double-tap → or press Dash (L1) |
| Back dash | Double-tap ← or Dash while holding back (confirm in training) |
| Jump | ↑ / ↖ / ↗ |
| Super jump style | Quick tap ↓ before jump from ground (verify in Training / Character Guide) |
| Air options | Character-dependent — check the in-game Character Guide |
New players only back dash. Forward dash into a blocked string still beats walking forever. Lab dash → Light and dash → Assist so your Marvel Tokon button layout stays useful under pressure.
Normals are the confirmation layer. Auto-routes exist so beginners can mash one strength and still see a combo structure.
| Normal path | Official beginner note |
|---|---|
| Tap Light repeatedly | Light route combo |
| Tap Medium repeatedly | Medium route — can connect toward Super Skill |
| Tap Heavy repeatedly | Heavy route — can connect toward Ultimate Skill |
| L → M → H progression | Classic strength climb into Skill / Assemble Rush examples |
| Unique (R1) | Character-specific — open the Character Guide for each Lead |
Auto-routes help learning, but online you still need to see the hit. Confirm on Light or Medium, then cancel into Quick Skill or Assemble. Dropping an unconfirmed Heavy route into a blocked Ultimate is a free punish.
Skills split into Quick vs Command next — that is the biggest controls decision after Assist directions.
The game supports both one-button skills and classic motion inputs. Official beginner materials are explicit about the tradeoff.
| Input type | How | Tradeoff |
|---|---|---|
| Quick Skill | R2 (+ directions for variants) | Easier confirms · slightly less damage / Skill Gauge gain |
| Command Input | Classic motions + attack | Slightly more damage · slightly more Skill Gauge |
| Super Skill | Skill resources + Medium-class partners | Spend gauge for bigger payoff |
| Ultimate Skill | Skill resources + Heavy-class partners | Biggest solo spend — confirm first |
Until your confirms are automatic, keep Quick Skill bound somewhere your right fingers never miss. Remap R2 if needed in the control settings — official notes say Quick Skill can be adjusted. Command Input is the upgrade path, not a day-one requirement.
Characters expose standing / forward / back Quick Skill options (for example grab-style tools on some kits). Lab each direction in Training Mode once so “one button” does not mean “random special.”
Team buttons are next — this is where Marvel Tokon Fighting Souls controls diverge hardest from 1v1 fighters.
Assemble (×) plus directions calls partners. Quick Assemble (L2) handles Switch attempts and Switch-window confirms.
| Input | Result |
|---|---|
| Neutral or → + Assemble (×) | 2nd teammate Assist |
| ↓ + Assemble | 3rd teammate Assist |
| ← + Assemble | 4th teammate Assist |
| Direction + L2 | Direct Switch attempt to that teammate |
| During Assist, press L2 | Switch in the Switch window |
Assist startup, Switch frames, and Assemble Rush cancel windows vary by character and patch. Learn the button map here, then lab timings in Training Mode. System intent and routes expand on the Assemble guide and combo guide.
Matched by build plan, shared topics, and guide progression — not random related links.
Defense uses the same Light + Assemble chord in different contexts. Know whether you are blocking.
| Tool | Input | When |
|---|---|---|
| Standing Guard | Hold ← | High / mid strings |
| Crouching Guard | Hold ↙ | Low strings |
| Assemble Counter | □ + × while not blocking | Read a commit · spends Assemble gauge |
| Crossover | □ + × while blocking | Partner interrupt — official beginner video labels this Crossover Reflect |
| Crossover Reflect (perfect) | □ + × while blocking, timed to opponent crossover bar | Drains their Assemble gauge on a perfect read |
If you are not blocking and mash □+×, you get Assemble Counter behavior. If you are blocking and press □+×, you get Crossover. Mixing those up is the classic day-one controls mistake.
Competitive baseline is pad play. Remap for reach, not for novelty.
| Priority | Recommendation |
|---|---|
| 1 | Keep Light / Medium / Heavy on the face cluster you already use in other fighters |
| 2 | Put Assemble on a reachable face / shoulder so Assist calls never miss |
| 3 | Put Quick Assemble (Switch) on a trigger / bumper you can hit during Assist animations |
| 4 | Place Quick Skill where you can cancel confirms without releasing the stick |
| 5 | Leave Unique accessible but not on the same finger as Switch |
PS5 DualSense prompts are the default reference in official materials. On PC, use Steam Input or the in-game config so the logical actions match this page. Keyboard, if present in your build, should mirror the same jobs — pad remains the intended competitive baseline.
When bindings feel boring, you are ready for routes — open the beginner guide goals or jump straight to Assemble.
DualSense defaults are in the button layout table on this page (Light □, Medium △, Heavy ○, Assemble ×, Dash L1, Quick Assemble L2, Unique R1, Quick Skill R2).
Yes for logical actions. Glyphs may change; open the button config and match Light / Medium / Heavy / Assemble / Dash / Quick Assemble / Unique / Quick Skill.
Pad play is the intended competitive baseline. If keyboard binds exist in your build, map them to the same logical actions listed here.
Escape / break timing and Link Attack routes live on the combo guide.
Assemble (×) calls Assists with directions. Quick Assemble (L2) is the Switch / quick-tag tool, including Switch-window confirms after an Assist.
Quick Skill first. Command Input adds a little damage and Skill Gauge once confirms are stable.
August 16, 2026
Matched by build plan, shared topics, and guide progression — not random related links.